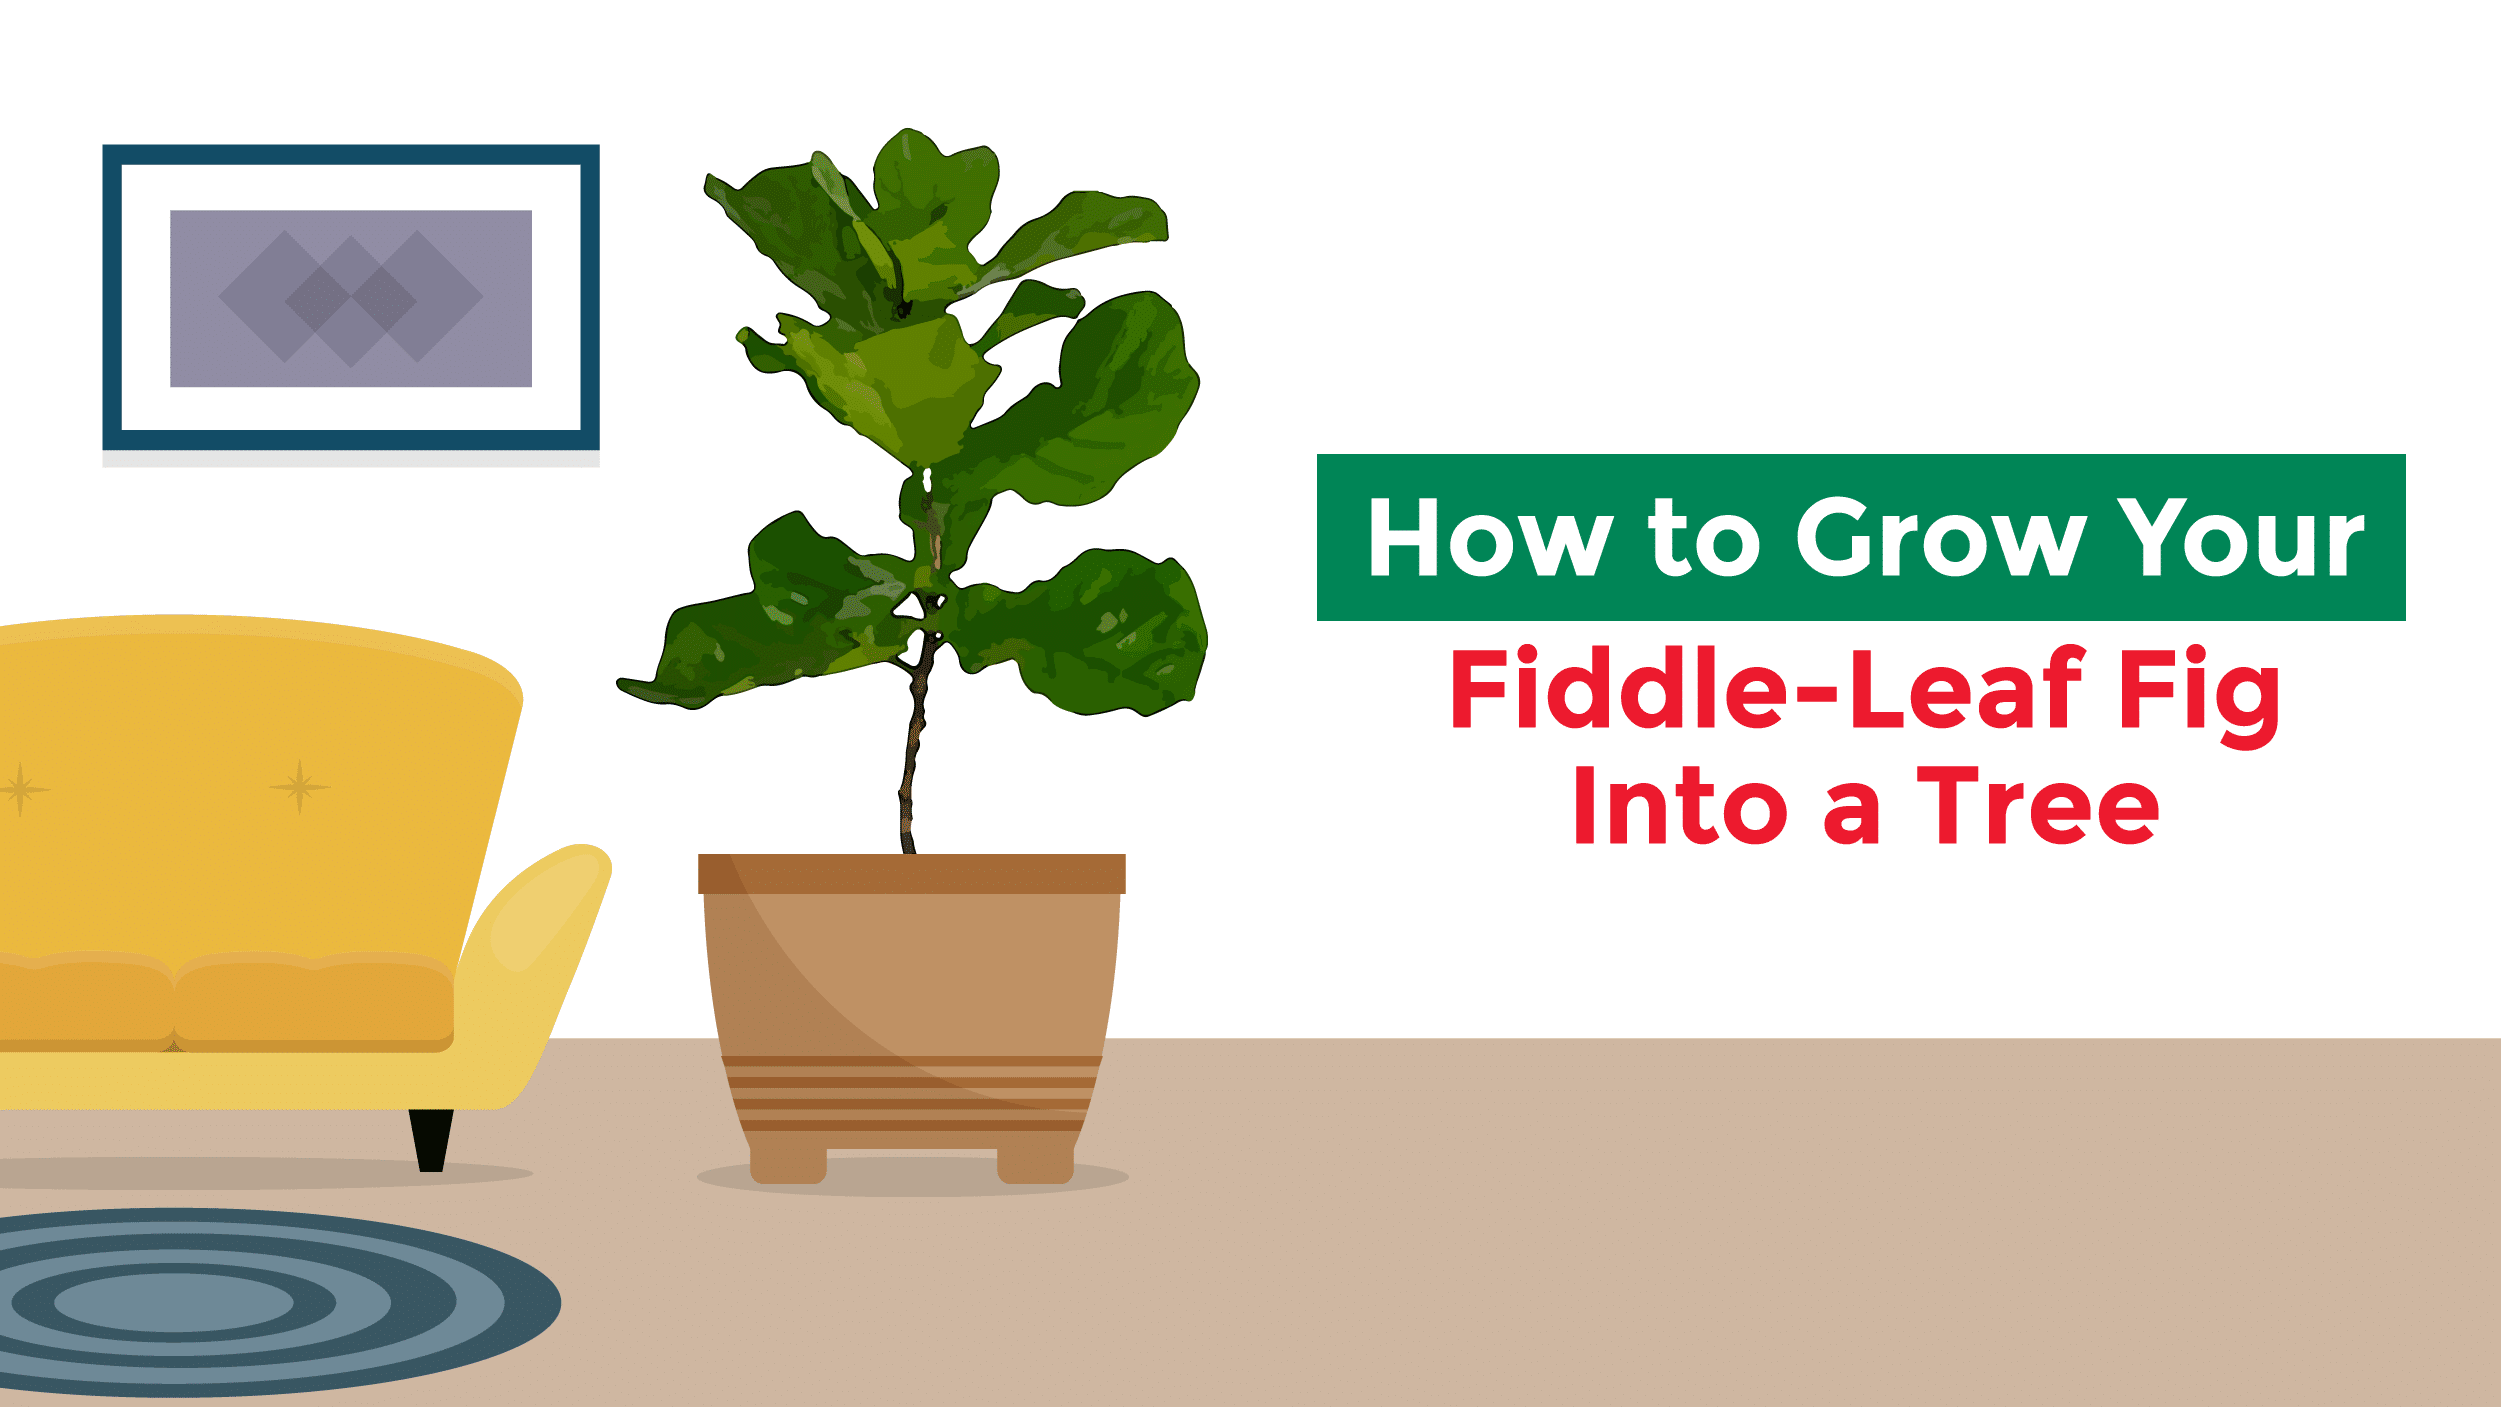
Fiddle-Leaf Figs – or Ficus lyrata – have been ubiquitous with the design world for over five years now, and they aren’t going anywhere anytime soon. Turning any room into a unique, Instagram-able (more than 150,000 hashtagged posts and counting) space filled with whimsy and a Dr. Seuss-like ambiance, fiddle-leaf figs are finicky tropical rainforest plants that are native to western Africa. As a flowering plant in the mulberry and fig family (moraceae genera), these jungle transplants need a whole lot of pampering in order to grow properly inside your home.
At Jobe’s, we’ve developed this guide to help you on your fiddle-leaf fig journey, taking you step by step to show how you can turn your small new fig plant into a thriving, full-sized tree fit for all the aesthetic glory.
Potting Your New Fiddle-Leaf Fig
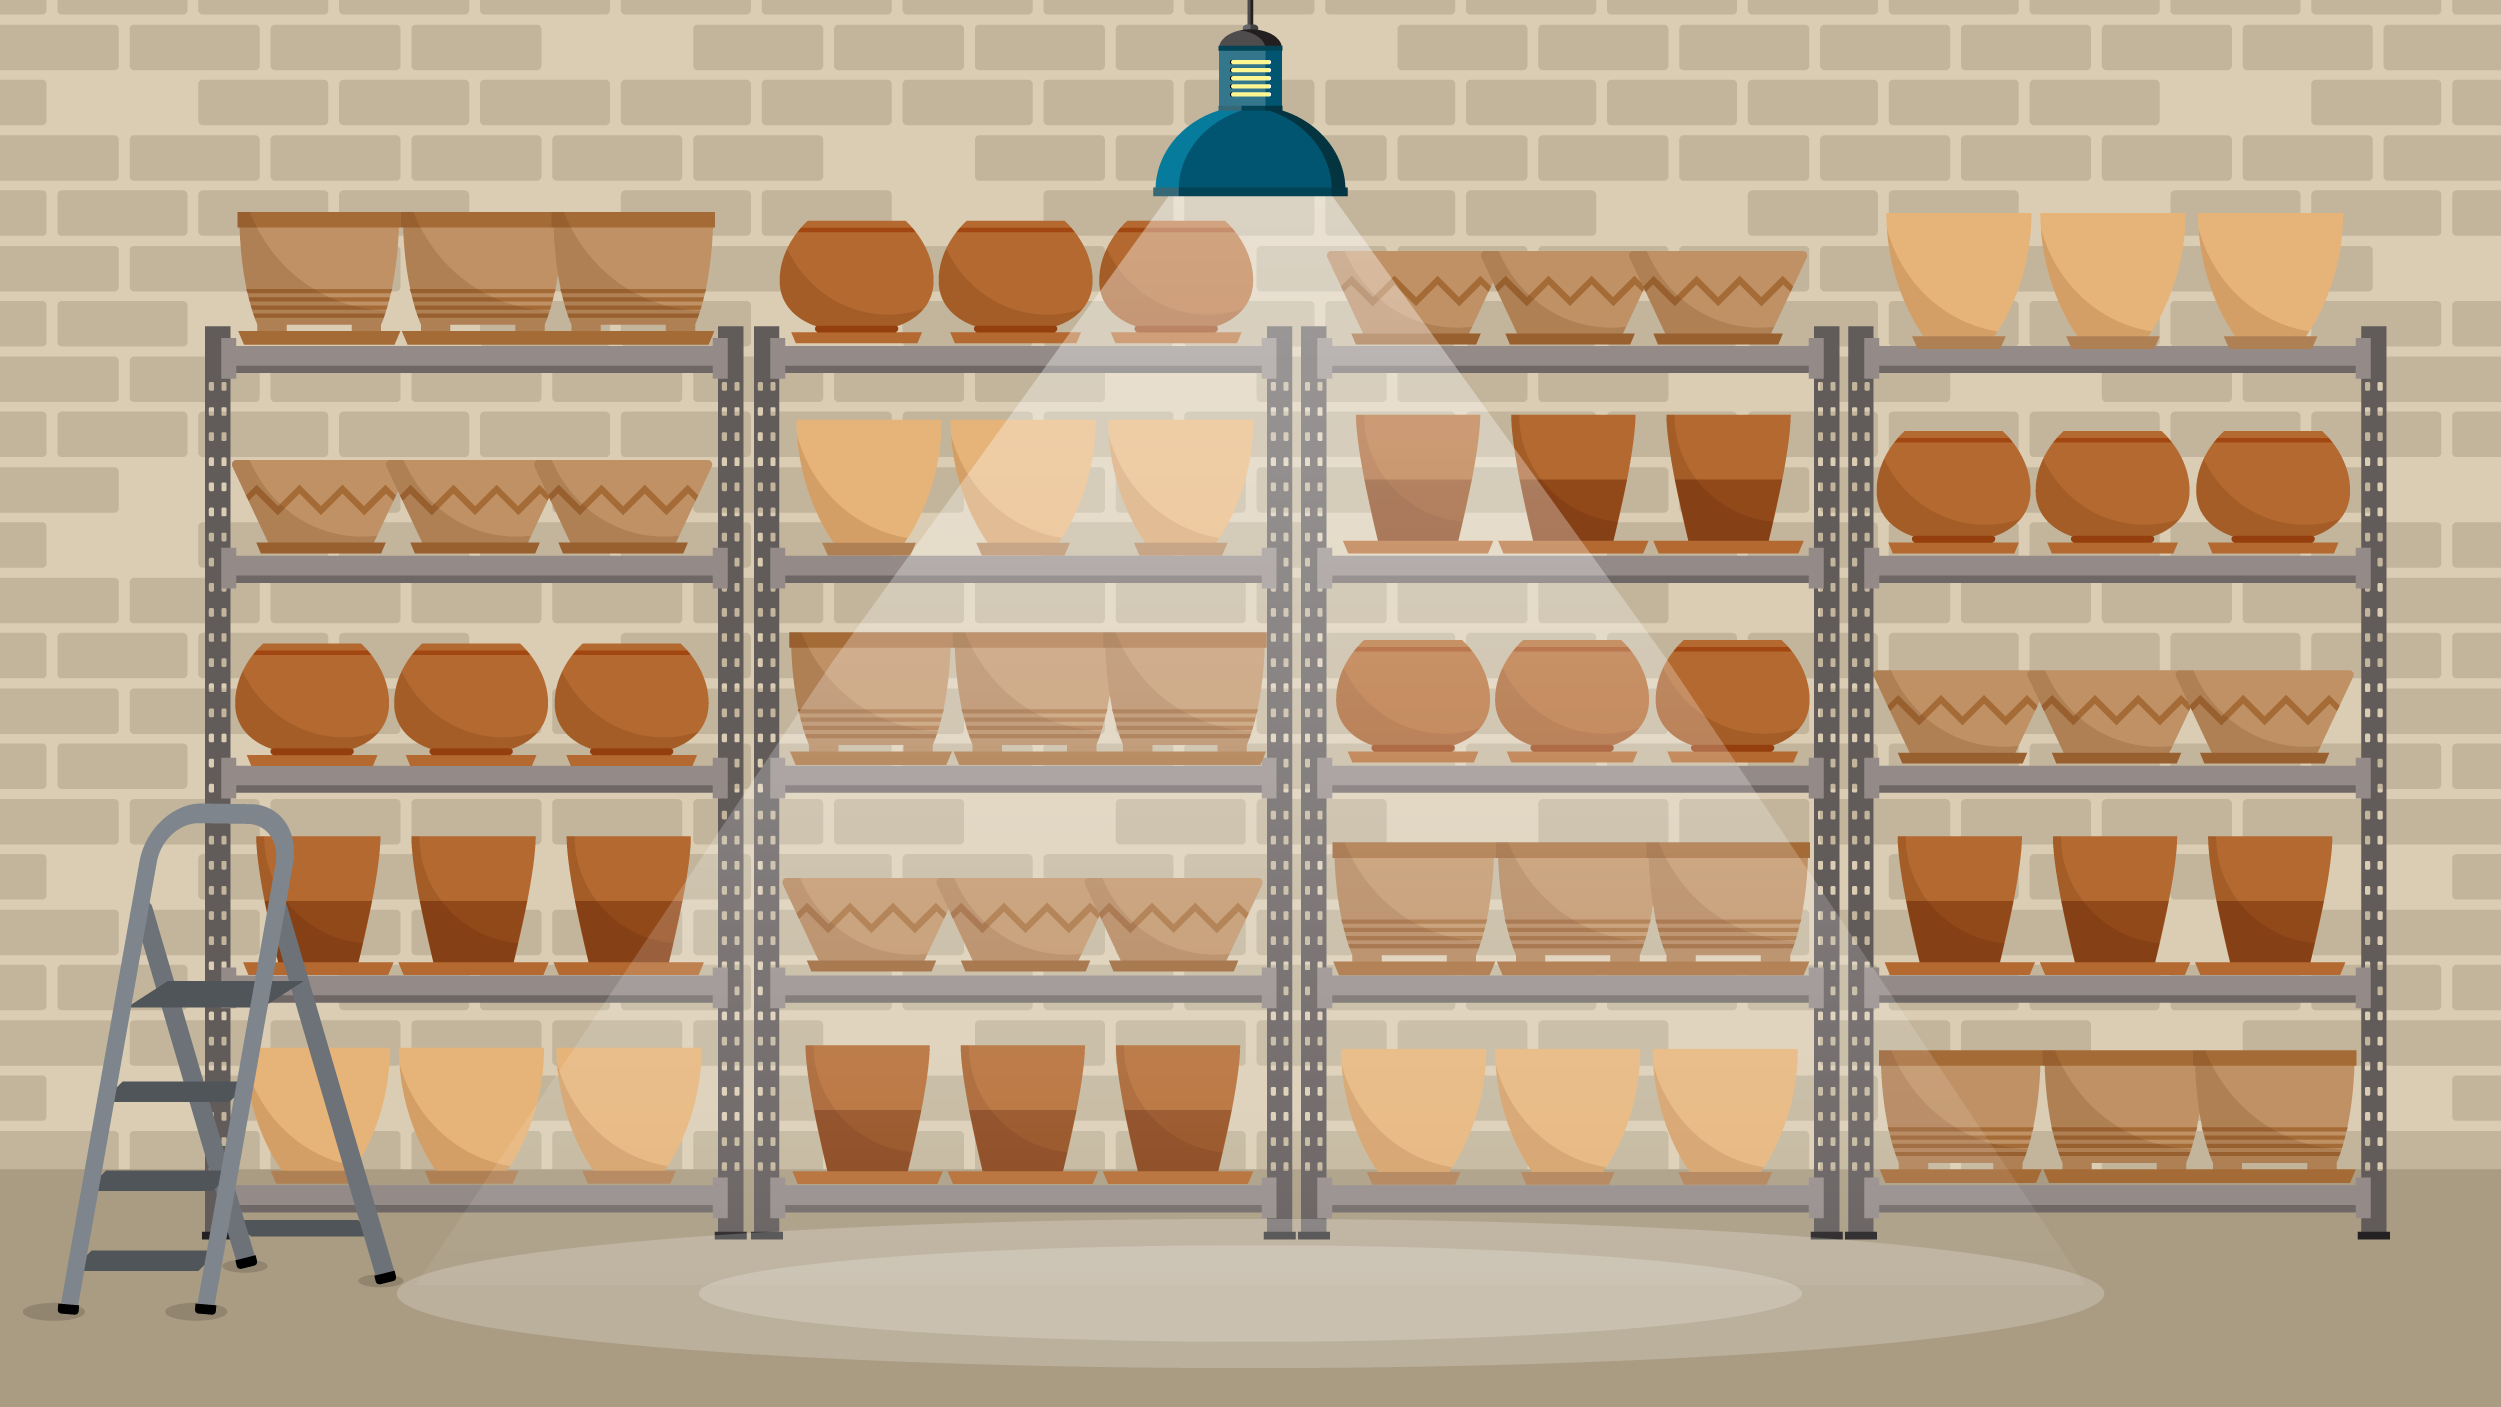
Once you get your fiddle-leaf fig home, it’s time to repot it in a decorative container that best suits your space – not to mention it helps with your plant’s health. Most new plants come in plastic growing pots with drainage holes designed to keep roots dry and prevent root rot, as growers water their plants daily to soak the roots.
Fiddle-leaf figs require the perfect combination of moisture and dryness, so it’s best to find a pot that maintains water retention better than plastic growing pots but also has an adequate drainage system to allow the root ball to thrive.
Look for pots that are 3 to 4 inches wider in diameter and an inch or two taller than the growing pot your fig came in. But don’t get a pot that’s too big (over 6 inches in diameter), as excessively large containers may allow root rot to take hold of your plant.
Additionally, your pot must have holes in the bottom for drainage purposes, as well as a saucer or reservoir underneath to catch any unused moisture.
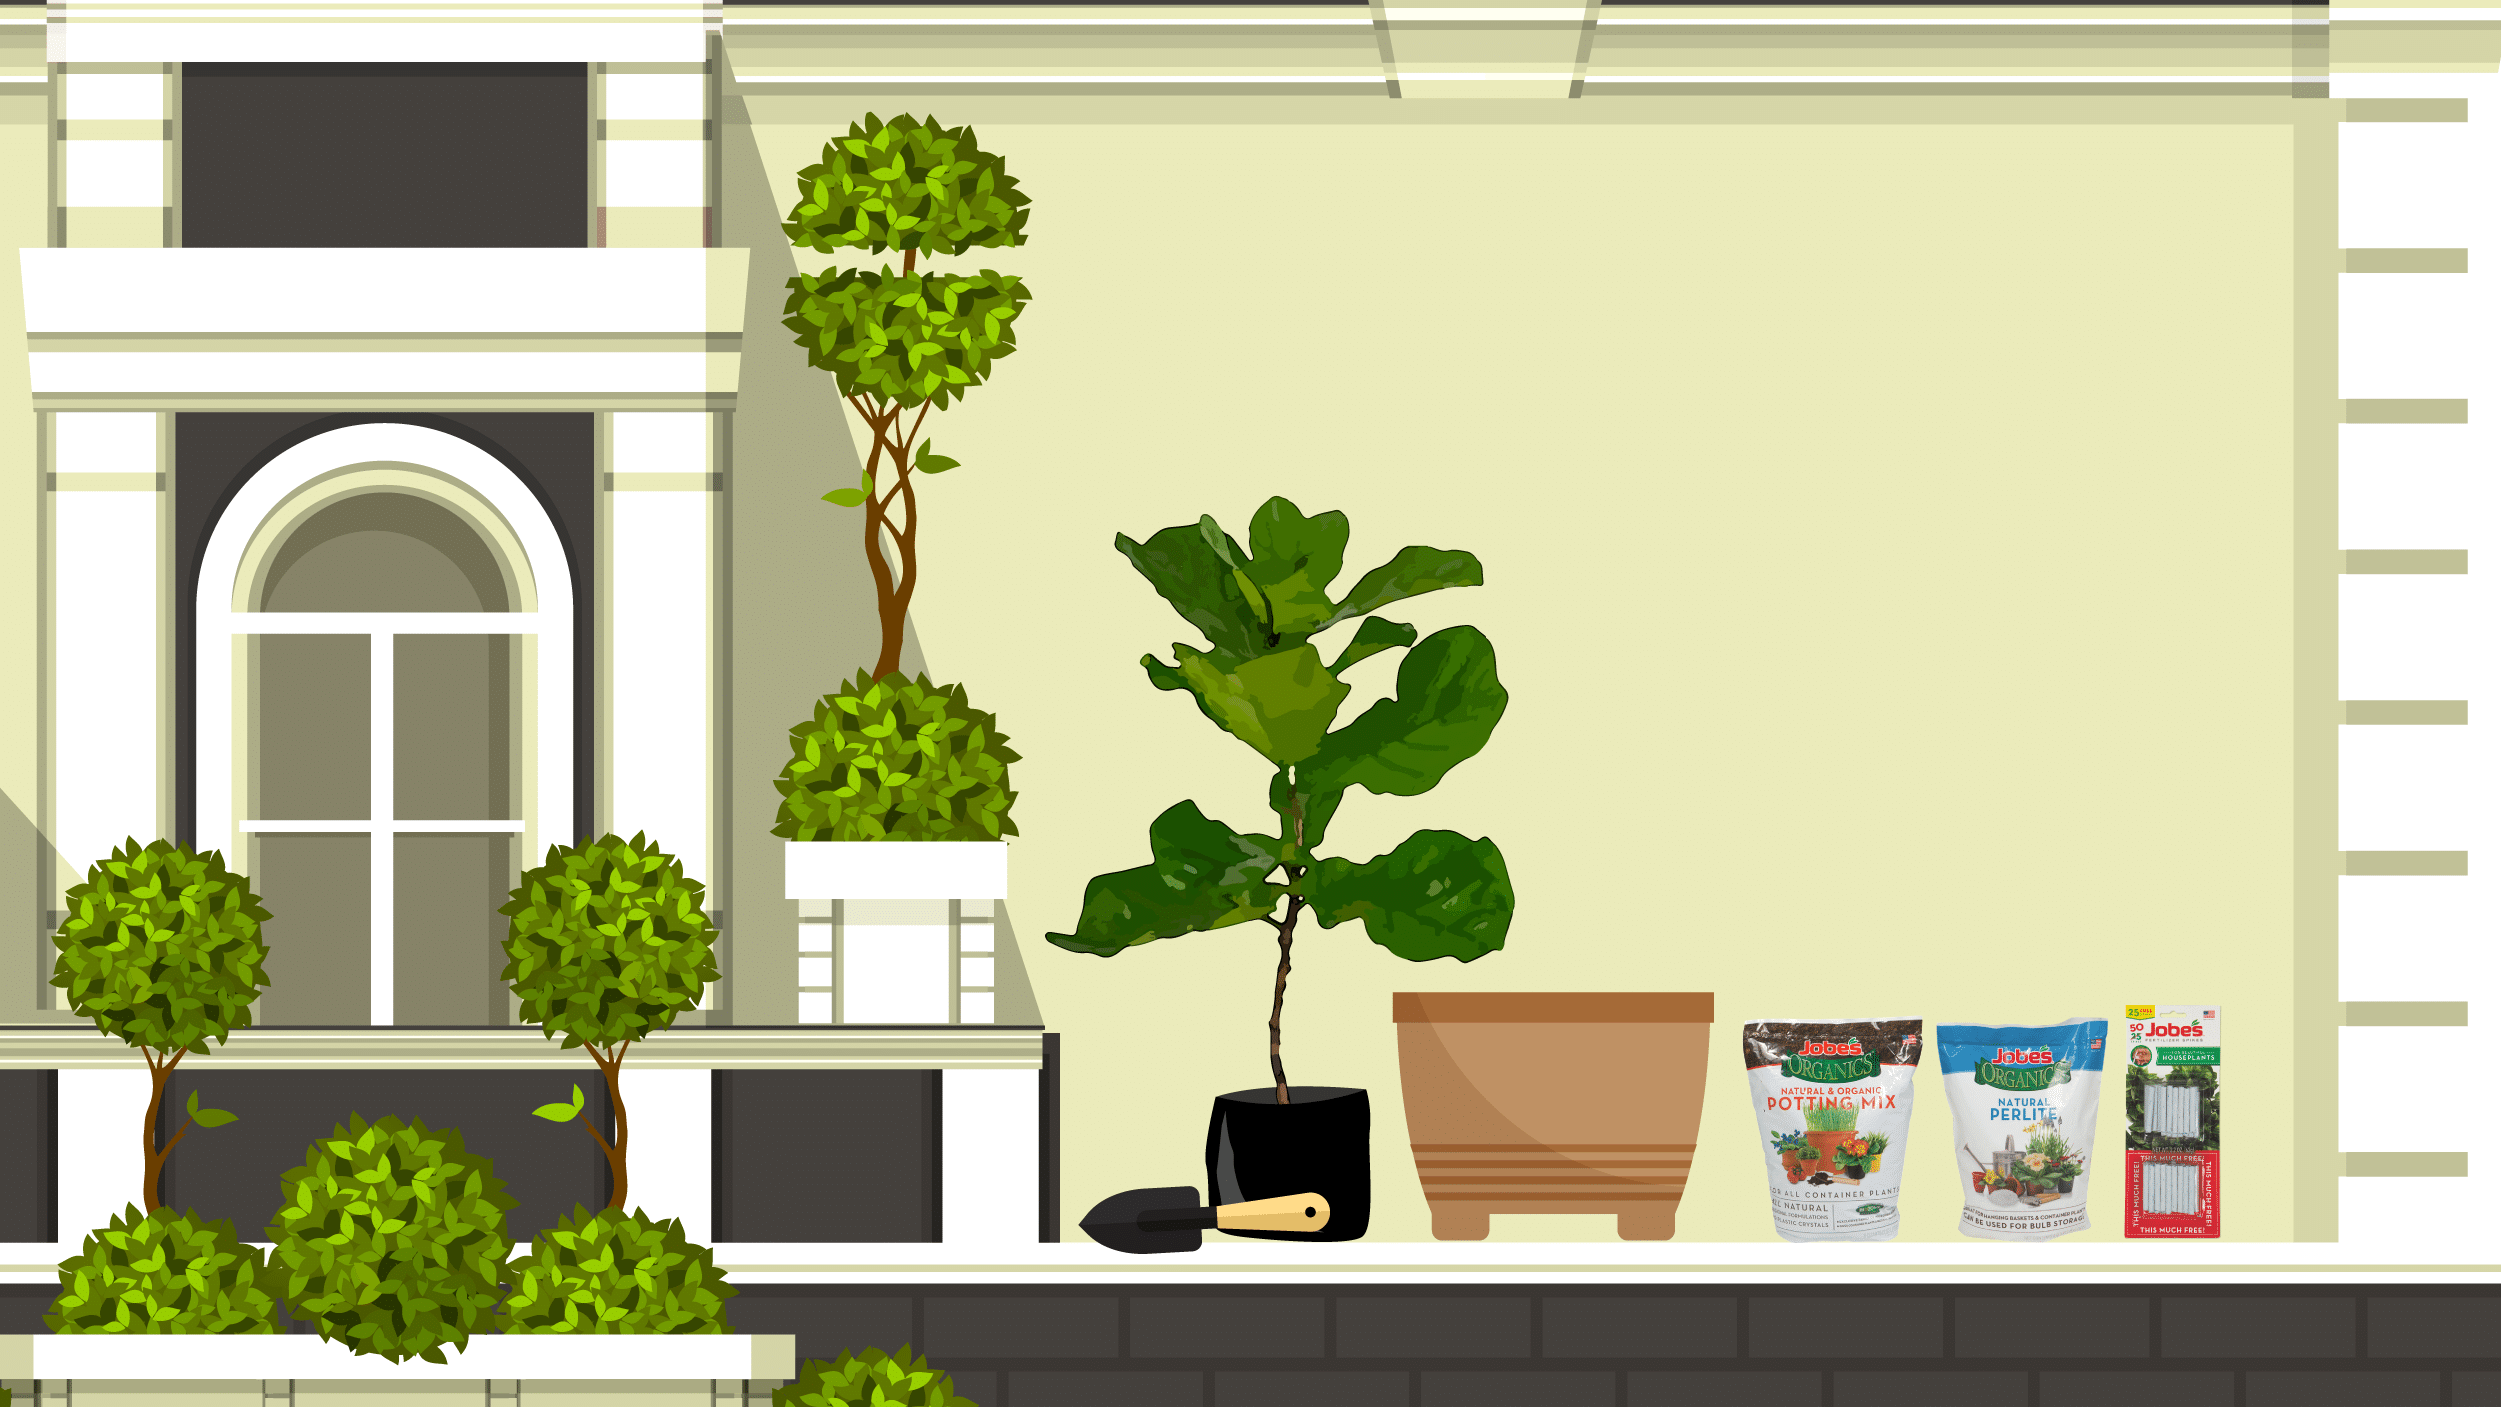
Picking the Proper Potting Mix & Soil Amendment
Choosing the best potting mix and soil amendment for your fiddle-leaf fig starts with finding products that unlock your plant’s full potential. Here at Jobe’s, our organic potting mix provides an all-natural solution for your fig’s basic needs. Featuring BiozomeⓇ – a unique blend of healthy bacteria, Mycorrhizal fungi, and Archaea – our potting mix promotes rapid fiddle-leaf fig root development while helping its roots retain moisture, all without using toxic elements.
To really ensure our potting mix remains loose, combats compaction, and allows for proper water drainage for your fiddle, consider adding a perlite soil amendment while potting.
Repotting Your Fiddle-Leaf Fig in Four Steps
Potting your fiddle-leaf fig plant takes just a few steps, but make sure to take your time and provide a gentle touch during the entire process to ensure your plant doesn’t get damaged:
1. Find a Workspace
Now that you have a proper fiddle-leaf fig container and potting soil, it’s time to transfer your plant to its new home. This process can get messy, so make sure you’re in an area that you don’t mind getting dirty. Consider transferring your plant on your outdoor patio or doing so indoors while over a sheet of plastic or old bed sheet.
2. Fill in Jobe’s Potting Mix & Soil Amendment
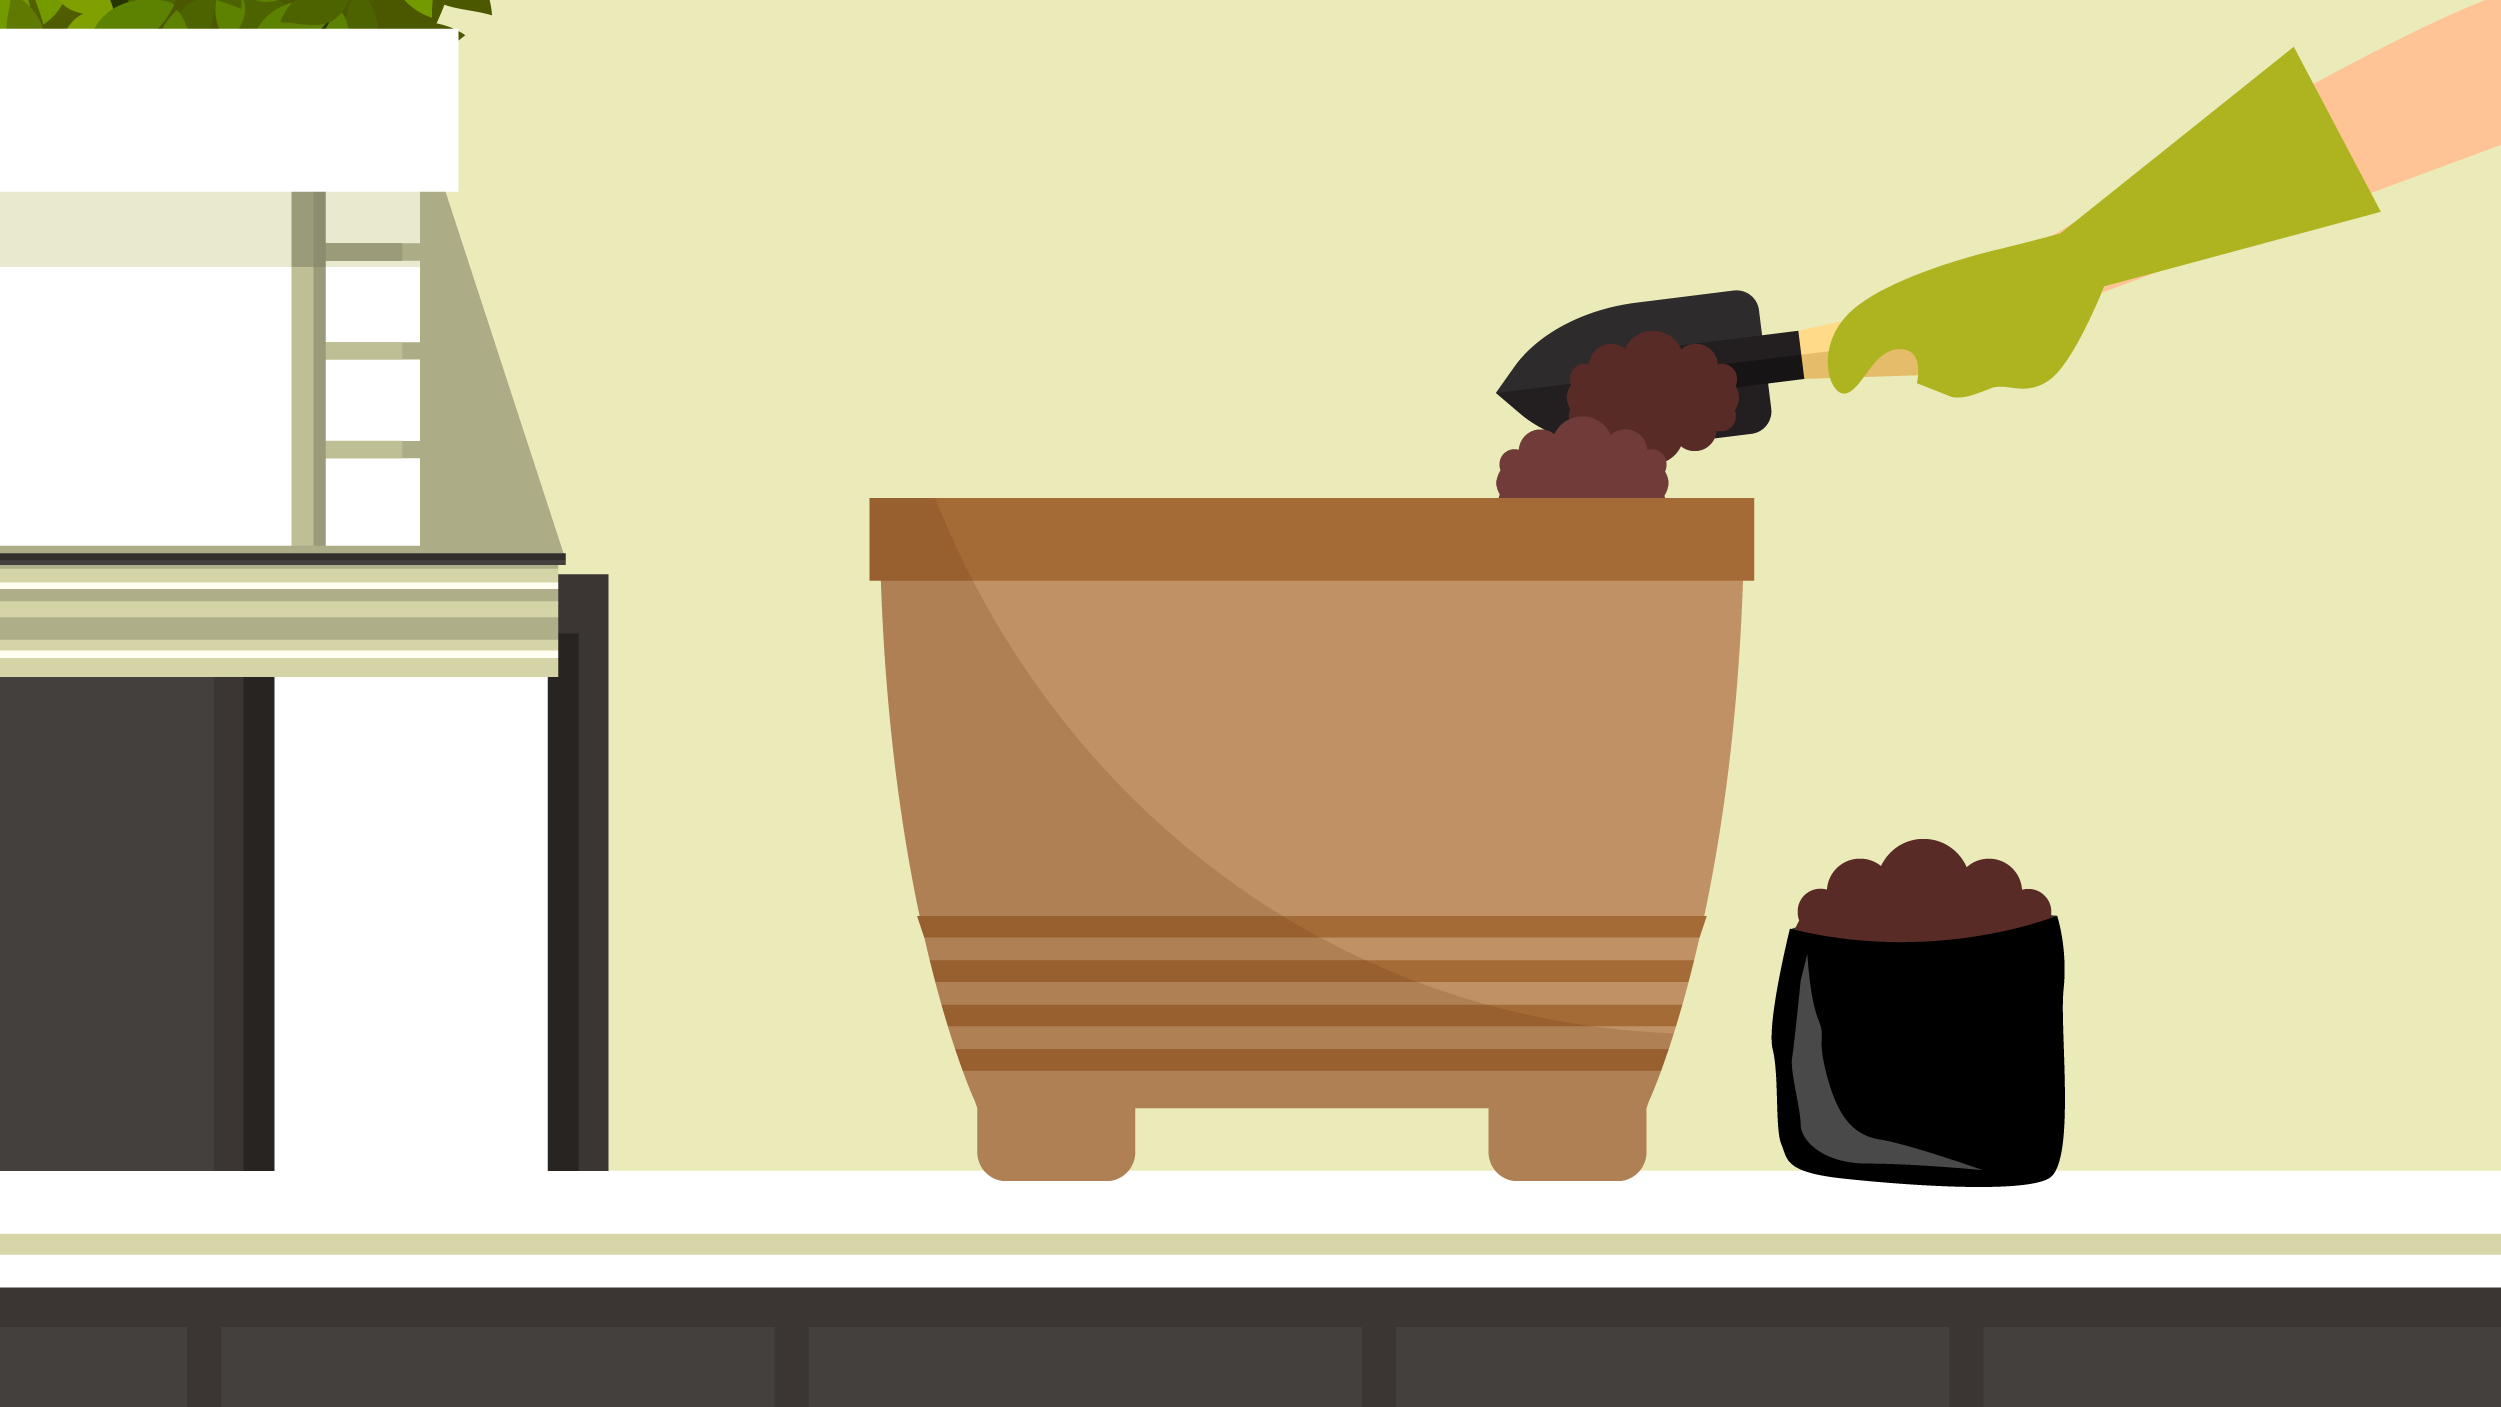
Fill your new container with 4 to 5 inches of potting mix, giving your fig a platform for its root ball to sit on. Ensure the pot isn’t too full of soil while your plant is inside it. You can measure this by making sure the top of your fig’s root ball isn’t jutting out over the top of the pot. Don’t forget to add your soil amendment, too!
3. Remove & Transfer
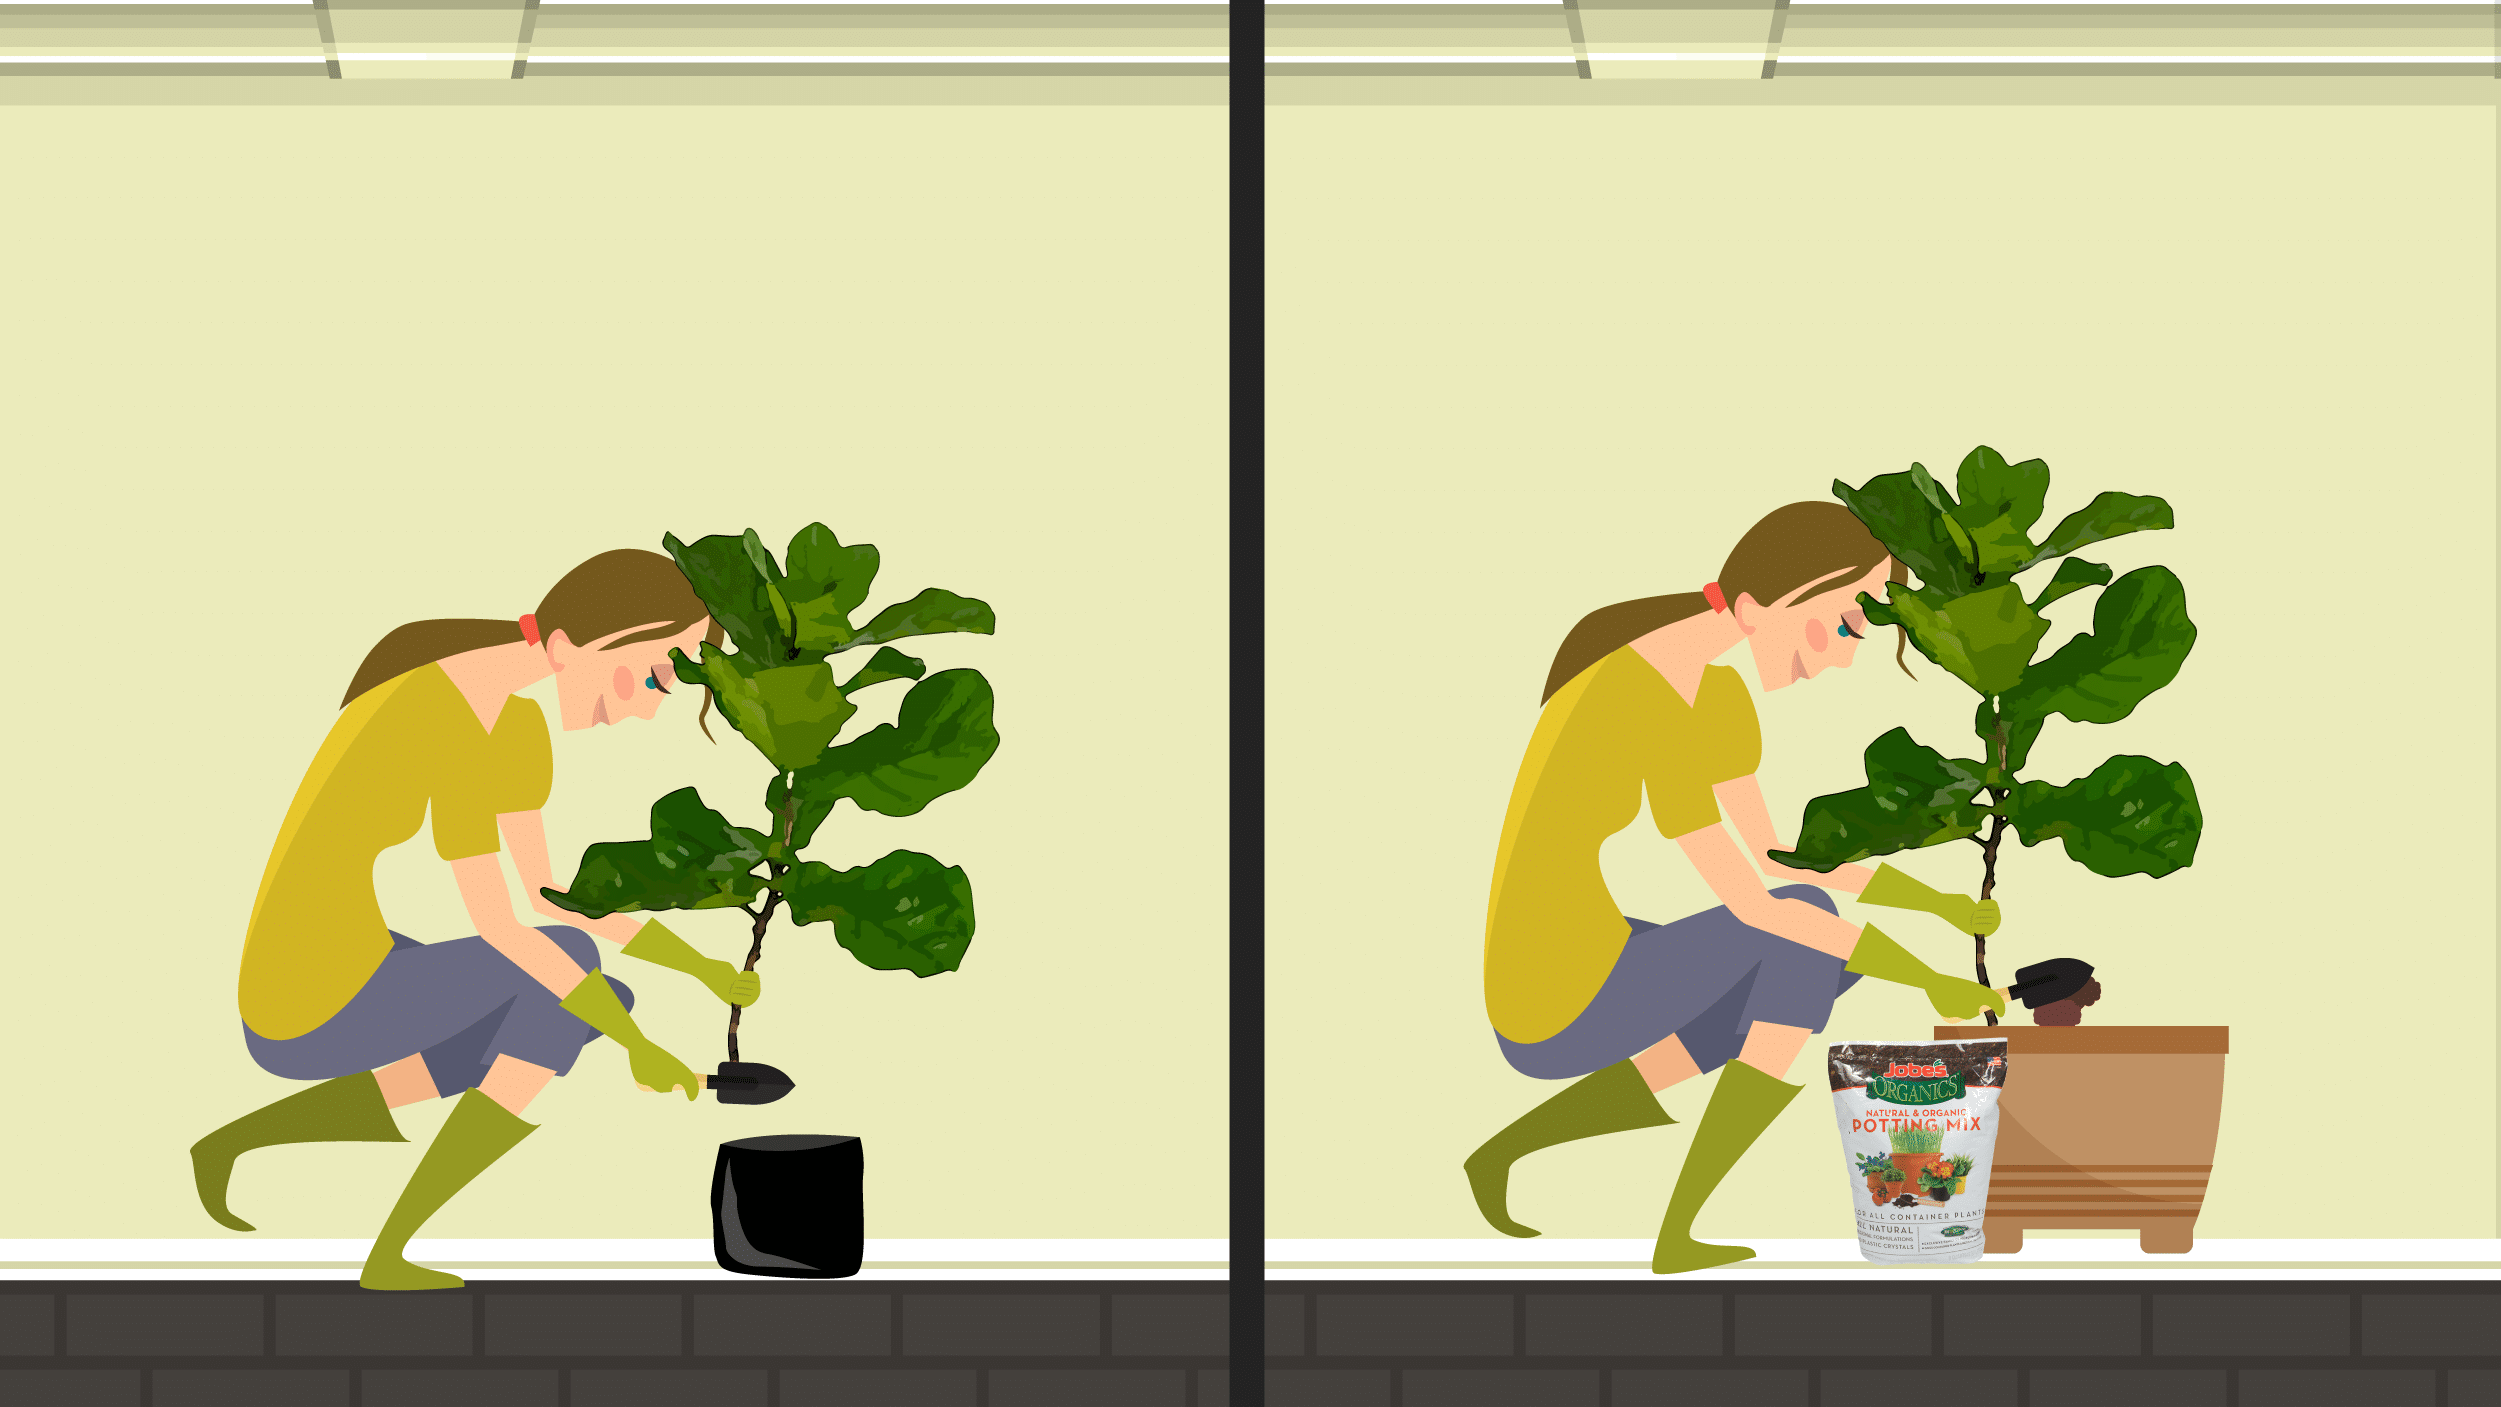
Next, gently remove the growing container from your fig’s root ball. If you’re having a difficult time removing your fig from its pot, don’t force it. Use a pair of scissors to carefully cut along the side of the plastic container.
Once removed, set your fig inside the new pot, holding it upright by the trunk as you fill in potting mix and soil amendment around the sides of the root ball until your container is full. Then, gently compact the soil to give your fig room for its roots to breathe.
4. Initial Watering
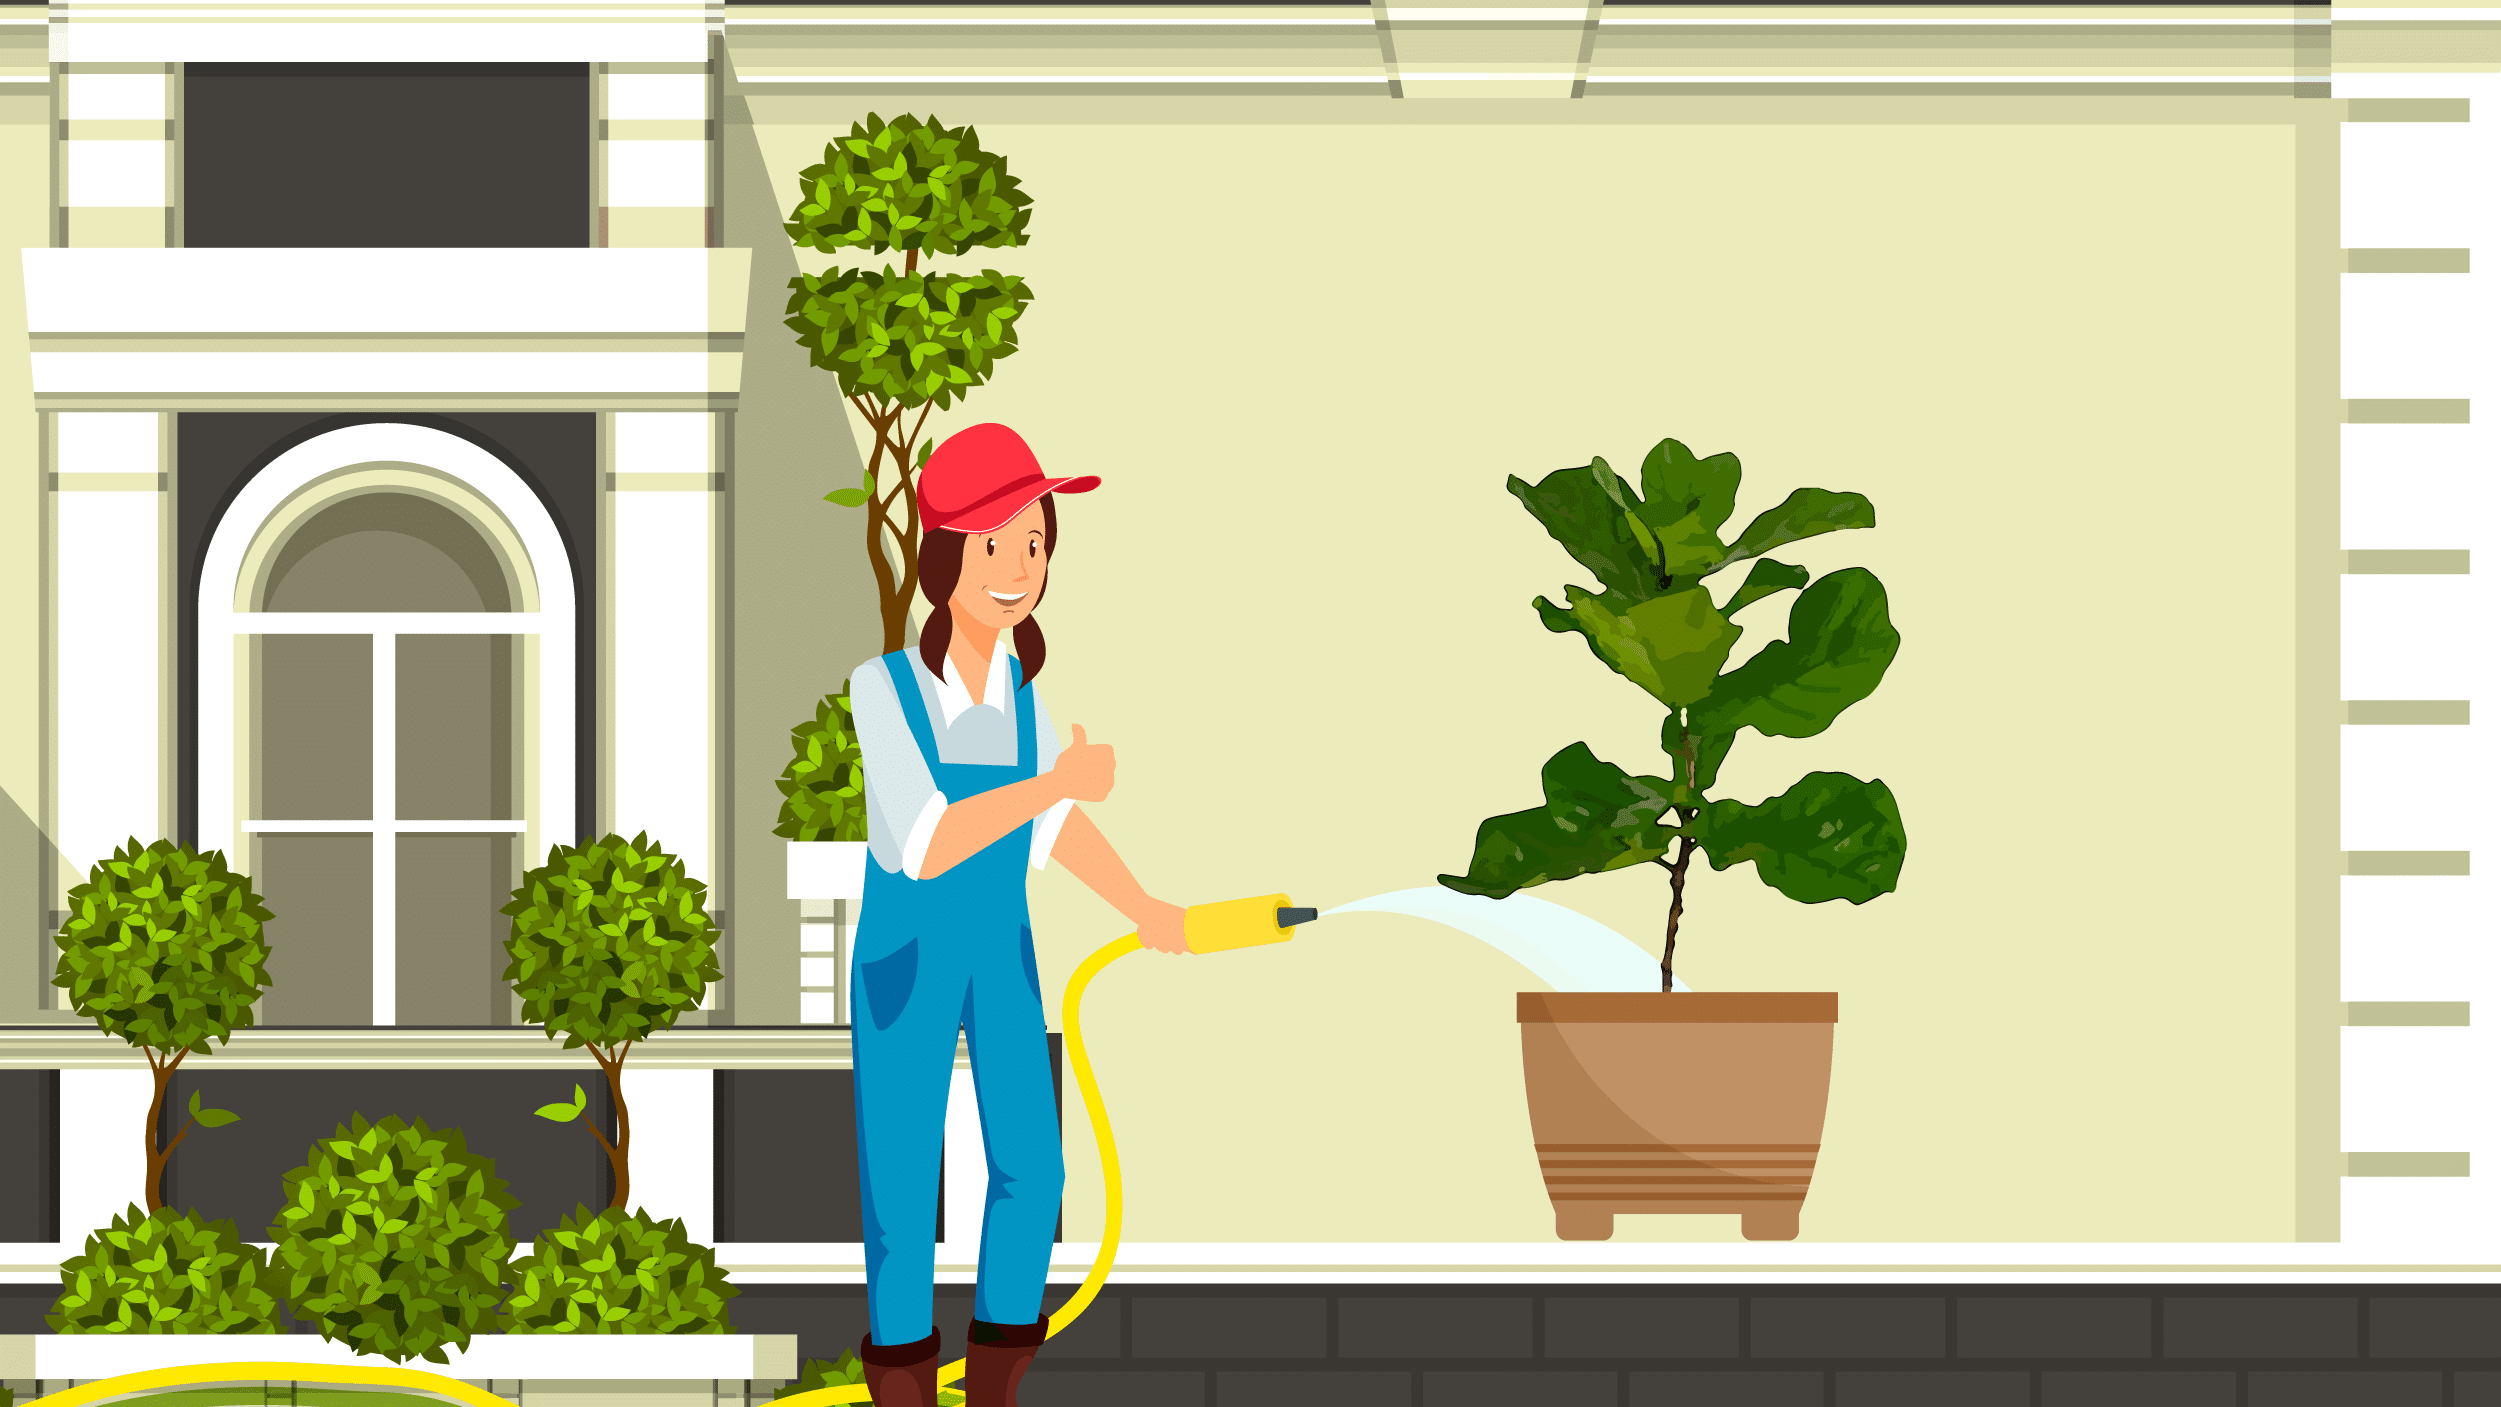
After your fig is potted, it’s time for its initial watering. Flood the pot with water to ensure any air trapped in the soil is removed. If you notice that the sides of the soil are now lower than the center, you might need to add in more potting mix.
Once the soil is completely watered and even near the top of the pot, let your plant dry for at least an hour. Then, make sure to drain the water reservoir of the pot as thoroughly as possible before bringing your fiddle-leaf fig indoors.
Your Checklist to a Flourishing Fiddle-Leaf Fig

Taking good care of your fiddle-leaf fig is crucial for its overall well-being, so make sure to provide it with the elements listed in the checklist below so it can thrive:
Sunlight ✔
After your fig is watered and snug in its new pot, it’s important to place it near the sunniest part of your home. Figs absolutely love natural light, so it’s best to find an area that’s south-facing and has plenty of indirect UV ray flow for most of the day.
Humidity ✔
With humidity levels ranging from 77 percent to 88 percent year-round, the rainforest is one of the most humid places on earth. Naturally, your fiddle-leaf fig is going to need plenty of moisture in the air to stay happy and healthy.
The average humidity of a home rests between 30 percent to 50 percent, and your fig needs to reside in an area with at least 65 percent humidity to thrive. If your home is on the dryer side, make sure to invest in a small humidifier to keep your plant in a space that mimics its natural environment as closely as possible.
Water ✔
For fiddle-leaf figs, you can water the soil one of two ways: 1) A lot of water less often, or 2) less water more often. Figs don’t like too much or too little water, so it’s best to find the perfect balance by checking the soil at least once a week. Using your finger, press into the soil at least 2 inches in multiple places to see how wet it is.
If the soil is still damp, don’t water. If the topsoil is dry 2 inches deep, make sure to thoroughly water the soil in the morning, giving your fig the chance to soak up the sun and dry throughout the day. While watering, rinse the leaves to clean off any dirt or debris to help your fig photosynthesize.
Food ✔
Just like humans, plants need adequate nutrition to survive. To properly feed your fiddle-leaf fig, utilize Jobe’s Houseplant Food Spikes. These convenient spikes are pre-measured, providing your fig with bountiful nutrients – like nitrogen, phosphorous, and potassium – right at the roots without any mess. Every two months simply insert these spikes into the soil around your plant for optimal health and growth.
Pruning ✔
Your fiddle-leaf fig needs to reserve its energy to maintain healthy leaves – not to attempt to revive dying ones. If your plant has a few brown, bruised, or damaged leaves in the mix, make sure to prune these leaves off with clean pruning shears to promote new growth and overall health.
If your fiddle is extremely happy and healthy, it will start to outgrow your space and bow to fit your home. Make sure to prune the top of the tree down at least 8 to 10 inches from the top of your ceiling.
Grow Your Fiddle-Leaf Fig to New Heights Today
With proper care and attention, you can turn your new fiddle-leaf fig plant into a towering tree that fits your space perfectly. By following this simple guide and utilizing our all-natural potting mixes, soil amendments, and fertilizers, you can keep your fig tree healthy (and Instagram-ready) all year round.
For more information on how Jobe’s Organics can help your fiddle-leaf fig reach new heights, feel free to get in touch with us today or browse our full line of gardening products to see how We Grow Better Things™!