If you’re a flower enthusiast who wants to add a show-stopping pop of color to your garden or flower bed, look no further than one of our favorite flowering plants, the hydrangea. With their stunning array of colors, hydrangeas are a perfect addition to your landscaping project. In this guide, Jobe’s Organics will show you the right conditions, process, and products to help plant and grow these beautiful flowering shrubs in your garden and keep them coming back year after year.
What Is a Hydrangea?
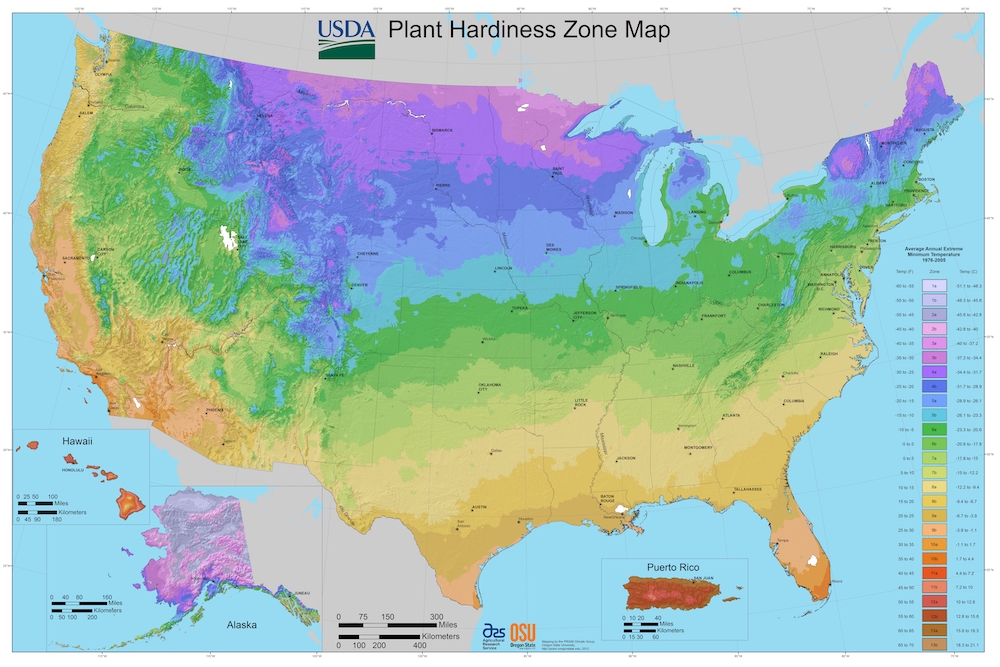
Hydrangeas, which bloom in the spring and summer months, are technically considered shrubs. Even though they’re large plants with bountiful blooms, hydrangeas are actually fairly low-maintenance plants that don’t really require a green thumb to help thrive. One of the best things about them is that they can grow in hardiness zones 3 through 7, including the Midwest, Northwest, and even in places as far north as Minnesota, Wisconsin, and North and South Dakota. When properly cared for, hydrangeas can reach up to 15 feet in height and in many cases can fill space within the span of one summer! Their flowers begin to bloom in spring and continue to last throughout summer, only beginning to wane in the early fall months.

Given their longevity, ease of planting, and potential size, choosing a hydrangea as the foundation of your plant landscape is a great choice.
Different Types of Hydrangeas
There are four different types of hydrangeas that can be grown in the United States:
- Bigleaf hydrangeas
- Panicle hydrangeas
- Smooth hydrangeas
- Oakleaf hydrangeas
Bigleaf varieties are the most common and can be grown in zones 5 through 9. Panicle hydrangeas thrive in zone 3, and often grow easily and can reach up to 15 feet in height. Smooth hydrangeas thrive in cold climates and are sometimes called “snowballs” due to their white bloom clusters. Oakleaf hydrangeas, by contrast, thrive in warmer regions, such as zone 5 and up. In fact, these plants can withstand the heat of summer.
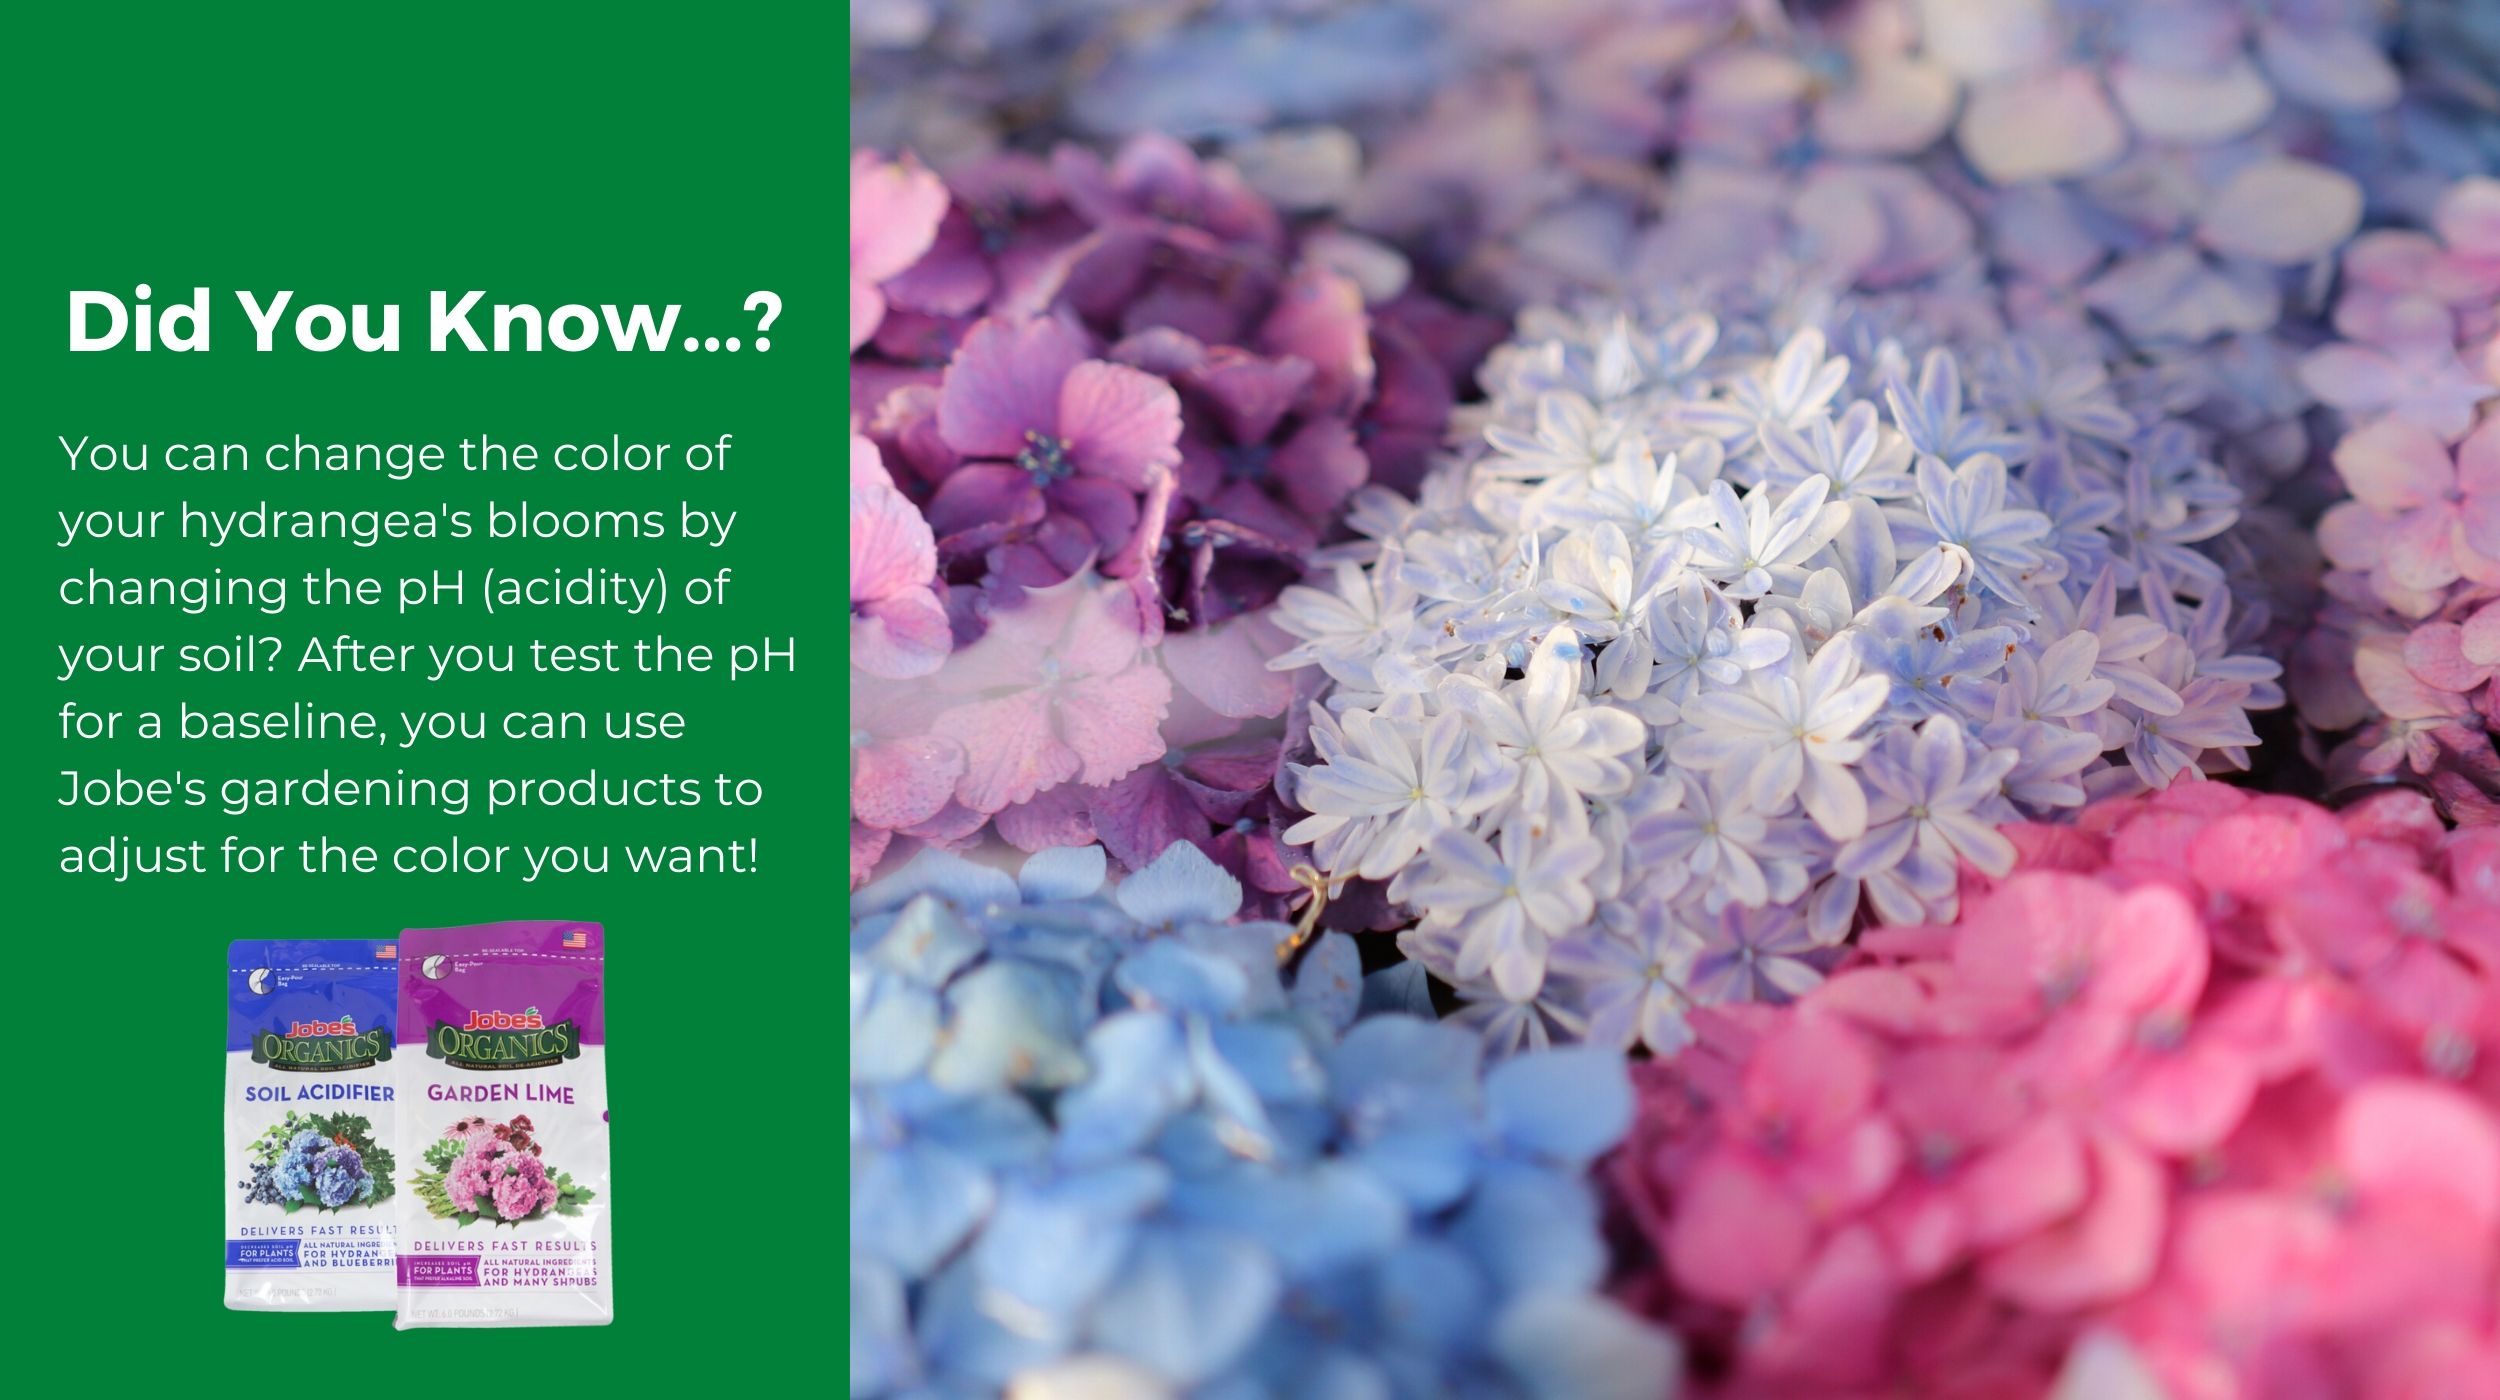
In addition to comprising a variety of types, hydrangeas are unique in that you can control the color of their blooms. Not all hydrangeas can change color, but adjusting the soil pH to a certain level can actually influence their appearance. This is best done through soil amendments. Always be sure to test your soil’s pH before adding anything to avoid damaging the plant.
How to Plant a Hydrangea
Like almost all gardening efforts, understanding the basics of how to plant and care for your hydrangea will go a long way toward ensuring its continued success in your garden (and toward saving you both time and money, too). The following considerations should be taken before you start digging:
- Time
- Location
- Soil
- Process of planting
The Best Time to Plant Hydrangeas
Hydrangeas do best when planted in the fall, although you can also put them in the ground in the early spring months. The key here is to give the plant lots of time to establish a healthy root system before the first blooms appear. Additionally, you’ll want to plant your hydrangea in either the early morning or late afternoon. These cooler times of day can help alleviate heat stress, which is a problem for nearly all plants. Good gardening practices apply here: Keep your new plants watered until they’re established.
Where to Plant Your Hydrangea
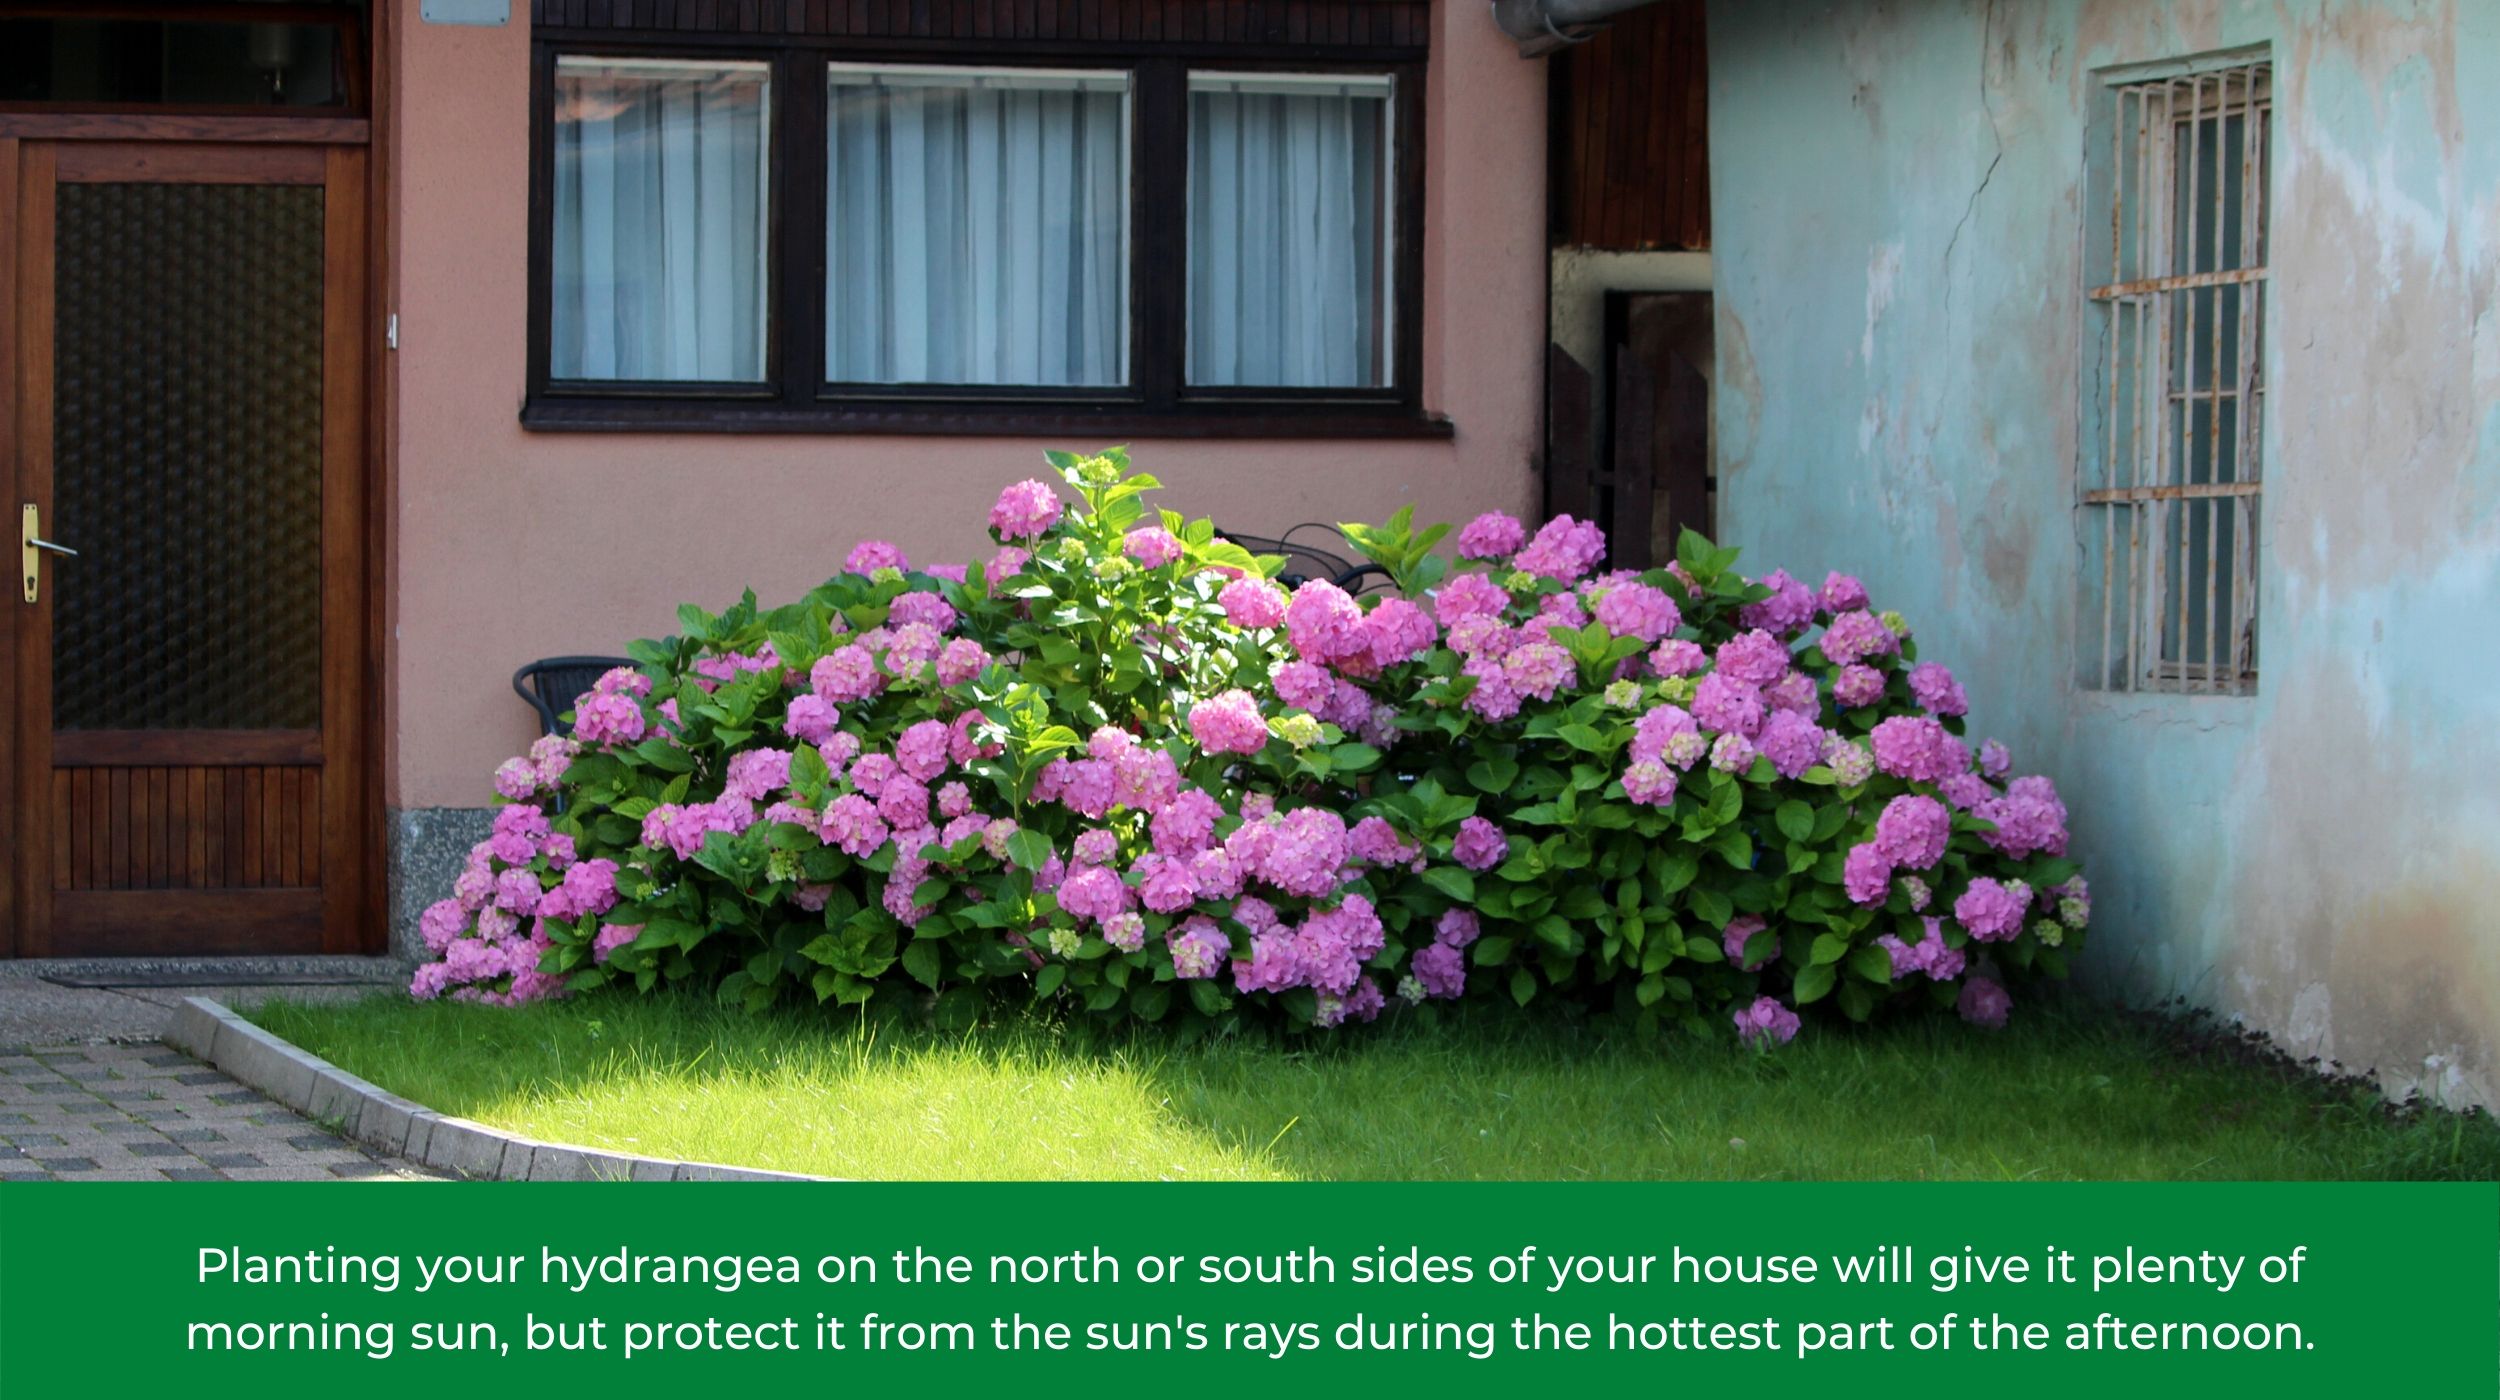
Part of planning your garden should involve knowing where to plant a hydrangea. Two places to consider are flower beds that are right next to your home or near a fence. Hydrangeas love the sunlight on a warm summer morning but can’t do so well in direct sunlight in the middle of the afternoon.
The best place to plant your hydrangea is where it will be sheltered from the hot afternoon sun but still get plenty of sunlight in the morning. Try to plant your hydrangea on the north or south side of your home. Don’t put them directly under trees, however, because they’ll compete with the bigger plants for water and nutrients. Avoid a spot that risks being windswept, as those high wind speeds can tear through leaves and destroy your flowers.
Choosing the Right Soil for Your Hydrangea
Hydrangeas do best in soil that is abundant in organic matter, has good drainage, and isn’t too heavy. Ensure your soil doesn’t get too soggy by watching your preferred planting spot for a few days after a rain (or water the soil and watch to see how quickly it drains). Soggy soils can lead to root rot. If your soil is heavy, consider adding plenty of compost.
In addition, you can use soil amendments—such as Jobe’s Organics Soil Acidifier, Jobe’s Organics Garden Lime Granular, and fertilizer spikes—to help balance out the nutrients and acidity in your garden before and during planting to really spur growth. Just make sure to test the pH of your soil before adding anything.
Planting a New Hydrangea
Dig your planting hole 2 feet wider than the root ball. Keep the hole’s depth pretty close to the size of the root ball; this will keep it level with or just higher than the soil nearby. When filling in the hole around the plant, make a slight mound around the stem. This can help keep water from pooling near the hydrangea’s base.
Propagating a Hydrangea
One nice aspect of hydrangeas is how easily they can be propagated through a variety of techniques. For bigleaf and panicle hydrangeas, you can layer them in early to mid-summer. To get started, dig a small trench near your existing hydrangea. Bend one of its branches to touch the soil in the middle of the trench. Scratch the bark where the branch touches the soil in the trench, and cover with dirt. Eventually, the branch will form a root system of its own. You can then transplant the new plant to its final location.
With smooth and oakleaf hydrangeas, the process is even easier. These plants create new shoots through underground stems. Dig up the young plant and separate it from the main/original hydrangea. You can then transplant it to a new location.
Caring for Your Hydrangea
Though they may look delicate, hydrangeas don’t require a ton of tender care. As with most flowering plants, you’ll need to water the hydrangea to keep it happy and healthy, and during the growing season, you’ll want to water regularly. Deep watering three times per week will encourage root growth. Soaker hoses are a great way to water deeply while also keeping moisture off of flowers and leaves. If you water in the morning, you can prevent hydrangeas from wilting during the hottest summer days.
In addition to regular watering, using organic mulch to help keep the soil around your hydrangea moist and cool is always recommended. The best part about organic mulch is that it breaks down over time, adding nutrients to the soil and improving its texture.
You’ll also want to apply fertilizer, but plants require different amounts at different times. Bigleaf hydrangeas, the most common kind, require several light fertilizer applications in March, May, and June. Smooth hydrangeas only need one fertilization in late winter, and Oakleaf and panicle varieties do best when given two treatments—one in April and another in June.
Trust Jobe’s to Help Your Hydrangeas Thrive
Whatever variety of hydrangea you choose to grow, it’s important to give it the best chance of thriving. From soil amendments to fertilizer spikes to compost starters, our garden and landscaping products are specially designed to ensure your plants’ continued growth over the course of the season. Whether you’re new to gardening or an experienced green thumb, trust Jobe’s to offer the right gardening solutions to make your landscape project successful. Be sure to check out our other how-to guides and garden tips and tricks.


